Section 5 Data preprocessing steps
5.1 Clipping vectors
In some cases, it is necessary than a layer covers only an area of interest. For this purpose, we can use a layer setting the extent we want to keep for a section of a layer. To accomplish this task, we use Clip from the Geoprocessing Tool.
To illustrate the operation of clipping vectors, we will use terre_shp and LIMADMIN.shp files.
- Load both layers into QGIS.
LIMADMIN.shpcorresponds to the administrative limits of Montreal’s boroughs (last update in 2013); however, the polygons extent beyond the terrestrial limits; whereas theterre_shpfile corresponds to the terrestrial limits of Montreal Island.
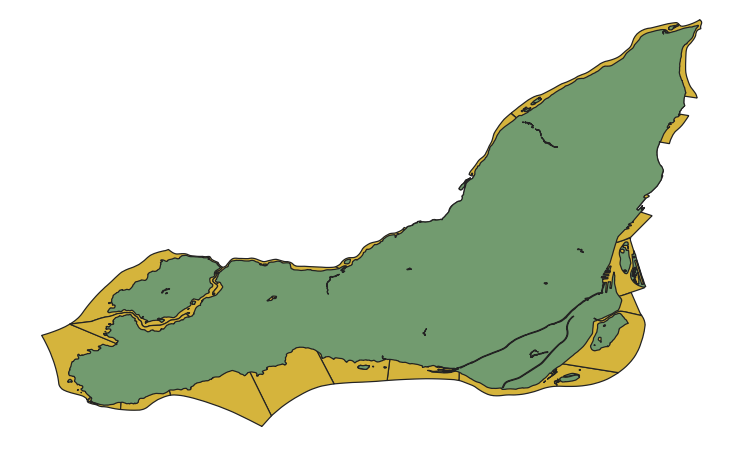
Figure 5.1: Montreal’s boroughs
- Navigate to Layer, then to Geoprocessing Tool, and select Clip. The following window will pop up.
LIMADMIN.shplayer corresponds to the Input layer, since it is the layer we want to cut, whereas thequartier_limite.shpis the Overlay layer, the layer we will use to set the limits we want to keep.
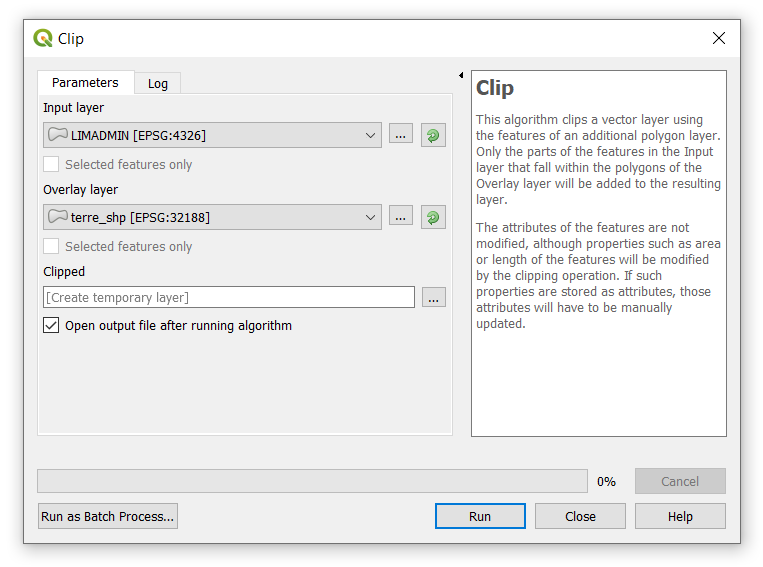
Figure 5.2: Using the clip algorithm
- Click on Run to generate a new layer. Save the clipped layer as
limadmin_clipped.shp.
5.2 Intersecting vectors
The Intersection algorithm extracts the properties from the input layer that overlap features in the overlay layer.
To illustrate this recipe, consider the terre.shp and LIMADMIN.shp files. In this case, we will create a layer resulting from the intersection between terre.shp and LIMADMIN.shp. Therefore, the terre.shp layer corresponds to the Input Layer, whereas LIMADMIN.shp to the Overlay Layer. We can add an overlay index to identify the features that were intersected from the overlay layer in Intersection layer generated
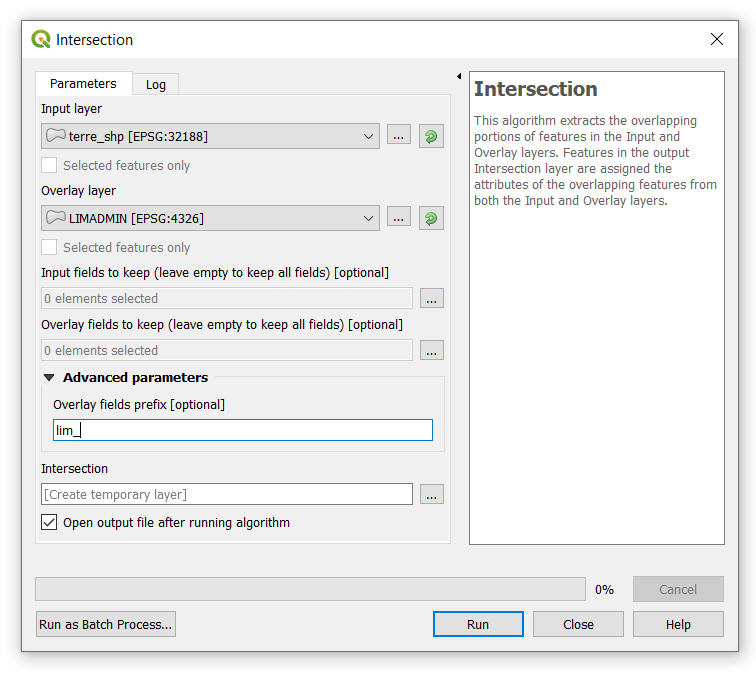
Figure 5.3: Intersection of vectors
5.3 Check validity and fix geometries
In some cases, when clipping and intersecting vectors, errors may arise because of invalid geometries. Fortunately, QGIS allows us to check the validity of layers, and even more importantly to fix them. The following algorithms can be accessed through the Processing Toolbox:
- Check validity: The algorithm performs a validity check on the geometries of a vector layer. The geometries are classified in three groups (valid, invalid and error).
- Fix geometries: The algorithm attempts to create a valid representation of an invalid geometry without losing any of the input vertices.
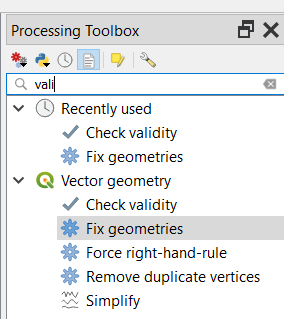
Figure 5.4: Check validity and fix geometries